Application Instructions
Gelish Color Application

STEP 1:
Sanitize the nail and your clients hands.
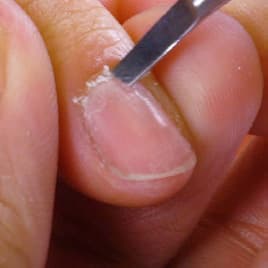
STEP 2:
Clean the surrounding nail plate.
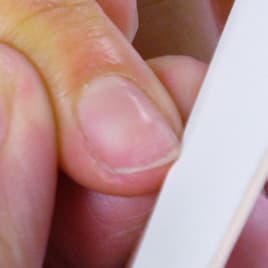
STEP 3:
Shape the natural nail using your Hand & Nail Harmony file of choice (Recommended: Hand & Nail Harmony Wooden File).

STEP 4:
Gently remove the shine using the Hand & Nail Harmony 100/180 Buffer.
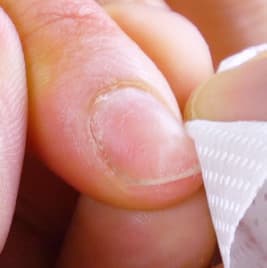
STEP 5:
Remove the dust using NAIL SURFACE CLEANSE and WIPE IT OFF lint-free wipes.

STEP 6:
Apply a thin coat of PH BOND Nail Prep to the nail plate.
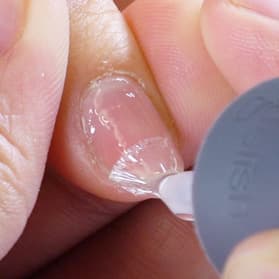
STEP 7:
Apply a thin coat of FOUNDATION Base Gel making sure to cap the free edges.

STEP 8:
Place hand in the 18G LED LIGHT for 5 seconds or UV Light for 1 minute.
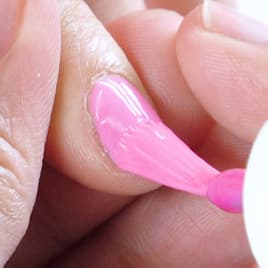
STEP 9:
Apply a thin coat of GELISH SOAK-OFF POLISH of choice to the entire nail making sure to cap the free edge. Cure for 30 seconds in the 18G LED Light or 2 minutes in UV Light. Repeat for full coverage.

STEP 10:
Apply a thin coat of TOP IT OFF Sealer Gel to the entire nail making sure to cap the free edge. Cure for 30 seconds in the 18G LED Light or 2 minutes in the UV Light.

STEP 11:
Remove the inhibition layer with Nail Surface Cleanse and Wipe It Off lint-free wipes.
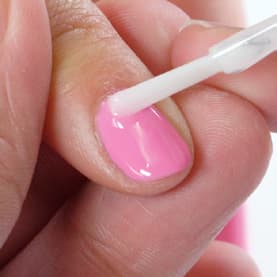
STEP 12:
Massage NOURISH Cuticle Oil into skin surrounding the nail plate and enjoy your finished look.
Application Instructions
Gelish Soak-Off Gel
Polish – Removal
Polish – Removal
STEP 1:
Break top seal by gently roughing the surface with 100/180 GRIT BUFFER and remove shine.
STEP 2:
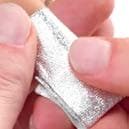
Saturate a cotton pad or WRAP IT OFF foil wrap with ARTIFICIAL NAIL REMOVER. Place onto nail and soak for 15 minutes.
STEP 3:
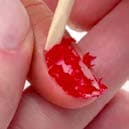
Remove foil. With an orangewood stick, gently remove any remaining gel. Be careful not to press into the nail.
STEP 4:
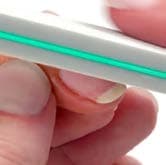
Lightly buff nail surface with a 200/280 BUFFER. Massage NOURISH Cuticle Oil into skin surrounding the nail plate.
Application Instructions
Gelish Soak-Off Gel Polish – Preparation

STEP 1:
Sanitize your clients’ hands and nails. Push back the eponychium and clean the nail plate of excess cuticle.

STEP 2:
Shape the natural nail using a 240/240 THIN WOODEN FILE.

STEP 3:
Gently remove the shine using a 100/180 BUFFER.

STEP 4:
Cleanse nails with NAIL SURFACE CLEANSE and a WIPE IT OFF lint-free wipe.

STEP 5:
Sparingly, apply PH BOND Nail Prep to the nail plate.
